IPod Nano 200 GB Instructions/Page 2
|
iPod nano 200 GB Instructions Created: By: Category: Summary: |
Step 4 - Desoldering Flash
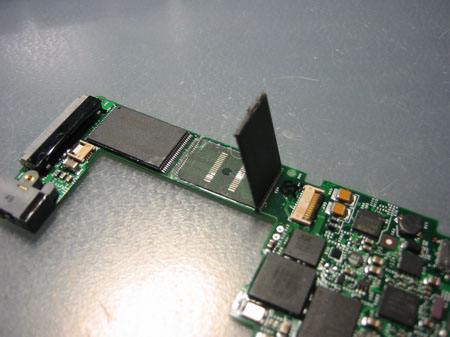
As your new iPod Nano with expanded storage capacity will no longer require the puny amounts that it originally came with, you should use solder flux and braid to desolder the flash onboard the iPod Nano. The chips you need to desolder are indicated in the diagram below. You only need to desolder one chip, but two makes it easier to work with later. Once you've done so, you can throw away the memory chips, as they are no longer necessary.
Step 5 - Attaching an ATA connector
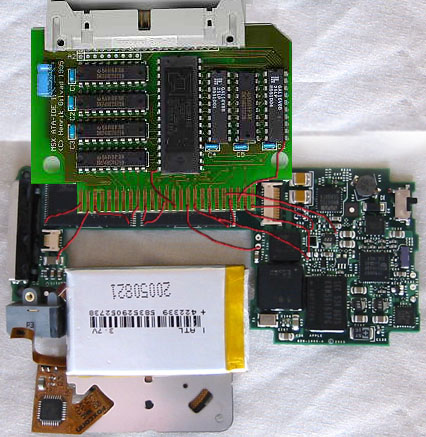
Remove the RAIDMAX RS series daughterboard from the original board. It should be easily removable, as the board was designed for expansion and easy integration. Solder the following pins to the mainboard where you dismounted the memory (don't worry, Flash and ATA are similar enough that the onboard controller can handle the signal conversion without a firmware update. After all, the CompactFlash protocol was designed with ATA in mind. Finally, Windows formats USB memory sticks in FAT32 anyway.)
You should have the following when you are completed with your soldering.
Step 6 - Attach your hard drive
Connect the IDE cable end to your iPod Nano now, and using the Dremel, drill a big hole in the case so that it can come out. Pass the wires through the hole, clamp the case shut. Apply a liberal amount of hot glue, and rubber band it to the hard drive. You can now carry it successfully.

